2 - Configure Ditto
2-1 Create Your Ditto App
Before we start coding, we first need to create a new app in the portal. Apps created on the portal will automatically sync data between them and also to the Ditto Big Peer.
Each app created on the portal has a unique appID which can be seen on your app's settings page once the app has been created. This ID is used in subsequent sections to configure your Ditto instance.
2-2 Add Permissions to the Info.plist
For Ditto to fully use all the network transports like Bluetooth Low Energy, Local Area Network, Apple Wireless Direct, the app will need to ask the user for permissions. These permission prompts need to be in the Info.plist file of your project.
Follow the instructions on the iOS Installation page.
2-3 Add ditto to TasksApp.swift
When Xcode generated your project, there should be a file called TasksApp.swift. We will need an instance of Ditto throughout this tutorial and the app's lifecycle.
- First import Ditto with
import DittoSwift - Construct an instance of Ditto with an online playground identity using the APP ID of the app that you just created on the portal. We are using an
.onlinePlaygroundsetup, which should suffice for this tutorial. However, you should never deploy this to a production environment like the Apple App Store. - We will call
startSyncas soon as the app'sContentViewappears. Add two@Statevariables to capture ifditto.startSyncthrows an error. One variable will be@State var isPresentingAlert = falseand the other is a@State var errorMessage = "". - Add an
.onAppearfunction and give it a plagyground token. Look for"YOUR_APP_ID_HERE"and insert your valid token. You can get a token from our Big Peer portal. If thestartSync()fails, we will setisPresentingAlert = trueand set theerrorMessageto the error's.localizedDescription. - We will then present a
.alertifisPresentingAlertis true. Notice that we will pass a@Statevariable as a binding type, which is why we denoted$isPresentingAlertprefixed with a$. To learn more about SwiftUI'sBindingtypes like@Stateclick here.
import SwiftUI// 1.import DittoSwift
@mainstruct TasksApp: App {
    // 2.    var ditto = Ditto(identity: .onlinePlayground(appID: "YOUR_APP_ID_HERE", token: "YOUR_TOKEN_HERE"))
    // 3.    @State var isPresentingAlert = false    @State var errorMessage = ""
    var body: some Scene {        WindowGroup {            TasksListScreen(ditto: ditto)
// 4 .onAppear(perform: { do { try ditto.startSync() } catch (let err){ isPresentingAlert = true errorMessage = err.localizedDescription } }) // 5. .alert(isPresented: $isPresentingAlert) { Alert(title: Text("Uh Oh"), message: Text("There was an error trying to start the sync. Here's the error \(errorMessage) Ditto will continue working as a local database."), dismissButton: .default(Text("Got it!"))) } } }}2-4 Create a Task struct
Ditto is a document database, which represents all of its rows in the database a JSON-like structure. In this tutorial, we will define each task like so:
{ "_id": "123abc", "body": "Get Milk", "isCompleted": true}These Task documents will all be in the "tasks" collection. We will be referencing this collection throughout this tutorial with:
let tasksCollection = ditto.store["tasks"]Ditto documents have a flexible structure. Oftentimes, in strongly-typed languages like Swift, we will create a data structure give more definition to the app.
Create a new Swift file called Task.swift in your project.
- Add
import DittoSwiftto the top of the file. - Add the matching variables
let _id: String,let body: String, andlet isCompleted: Boolto the struct. We will use this to match the document values to to the struct. - Add an
initconstructor toTaskthat takes in aDittoDocument - In the
initconstructor, parse out the document's keys with Ditto's type safe value accessors. This will safely map all the document's values to the struct's variables that we created in step 2. - Add a second
initconstructor toTaskthat just takes aStringand abool - Add an
extension Task: Identifiableright below theTaskstruct definition and implementvar id: Stringto return the_idkey. We add theIdentifiableprotocol to assist SwiftUI'sListview andForEachcomponent in later sections. Collection views in SwiftUI require knowing if a view is unique to prevent wasteful redraws. While it may seem confusing, we are only allowing the protocol to read the_idthat we added in step 2.
// 1.import DittoSwift
struct Task {
    // 2.    let _id: String    let body: String    let isCompleted: Bool
    // 3.    init(document: DittoDocument) {        // 4.        _id = document["_id"].stringValue        body = document["body"].stringValue        isCompleted = document["isCompleted"].boolValue    }        // 5.    init(body: String, isCompleted: Bool) {        self._id = UUID().uuidString        self.body = body        self.isCompleted = isCompleted    }}
// 6.extension Task: Identifiable {    var id: String {        return _id    }}
This data class takes a DittoDocument and safely parses out the values into native Swift types. We also added constructor that allows us to preview data without requiring Ditto.
So now in our application if we want an array of Tasks, [Task], we can write the following code:
let tasks: [Task] = ditto.store["tasks"].find("!isDeleted").exec().map({ Task(document: $0) })Once we set up our user interface, you'll notice that reading these values becomes a bit easier with this added structure.
2-5 Create a TasksListScreen view
When we generated the project, Xcode created a default ContentView, which need to swap out for a better starter view. Let's create a view called TasksListScreen which will show the list of the views.
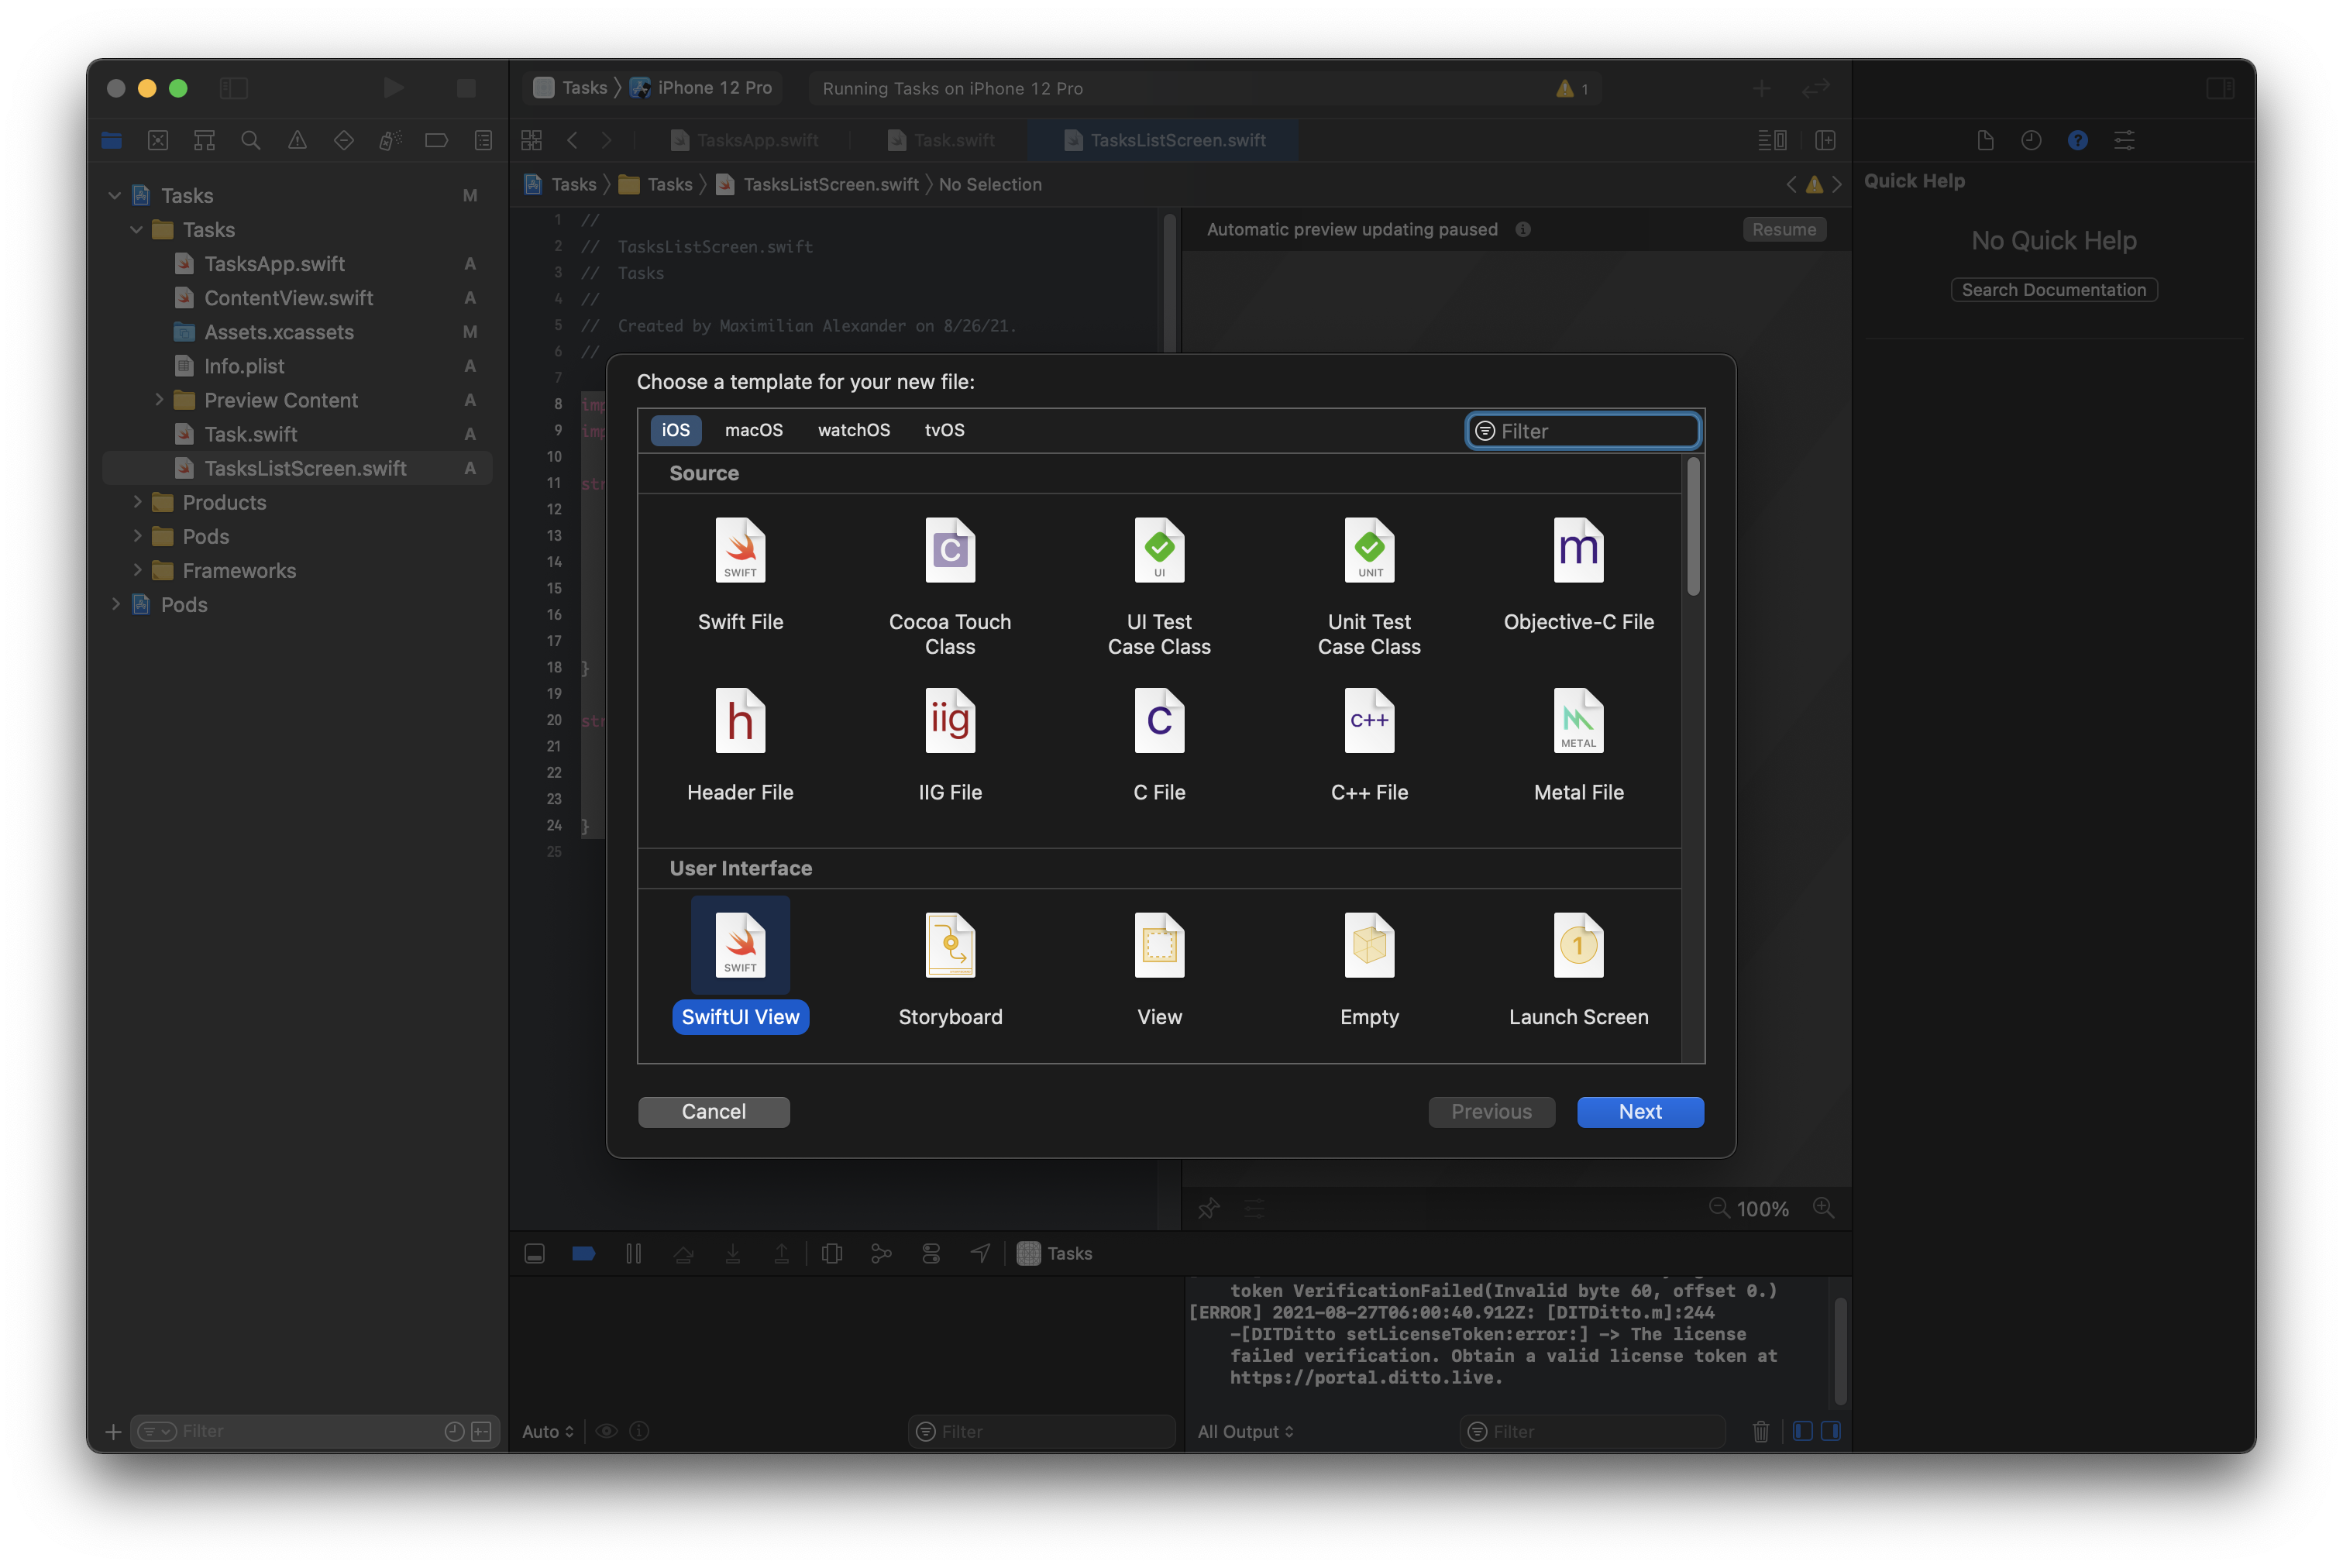
- Create a new SwiftUI View View by clicking File > New > SwiftUI View

Name it "TasksListScreen"
At the top of the new TasksListScreen.Add Ditto with
import DittoSwiftat the top of the fileCreate a constructor and a variable to pass
var ditto: DittoReplace the
bodywithNavigationViewwith a singleListchild. We will fill out the contents of theListin the next section. We've also added a couple of decorative navigation elements which we will hook up later. This includes a navigation title,.navigationTitlewhich shows the name of the app, a navigation plus button in.navigationBarItemsand a.sheetthat we will use navigate to anEditScreen. We will create theEditScreenlater.
import SwiftUI// 3.import DittoSwift
struct TasksListScreen: View {
    // 4.    let ditto: Ditto
    init(ditto: Ditto) {        self.ditto = ditto    }
    var body: some View {        // 5.        NavigationView {            List {
            }            .navigationTitle("Tasks - SwiftUI")            .navigationBarItems(trailing: Button(action: {
            }, label: {                Image(systemName: "plus")            }))            .sheet(isPresented: .constant(false), content: {
            })        }    }}