4 - Editing Tasks
Our final screen will be the EditScreen and its ViewModel. The EditScreen will be in charge of 3 functions:
- Editing an existing
Task - Creating a
Taskand inserting into the tasks collection - Deleting an existing
Task
4-1 Creating the EditScreenViewModel
Like before, we need to create an EditScreenViewModel for the EditScreen. Since we've already gone over the concepts of MVVM, we will go a bit faster.
- The
EditScreenViewModelneeds to be initialized withdittoand an optionaltask: Task?value. If the task value isnilwe need to set thecanDeletevariable tofalse. This means that the user is attempting create a newTask. We will use this value to show a deleteButtonin theEditScreenlater. We will store the_id: String?from thetaskparameter and use it later in thesave()function. - We need two
@Publishedvariables to bind to aTextFieldandToggleSwiftUI views for the task'sisCompletedandbodyvalues. If thetask == nil, we will set some default values like an empty string and a falseisCompletedvalue. - When the user wants to click a save
Button, we need tosave()and handle either an.upsertor.updatefunction appropriately. If the local_idvariable isnil, we assume the user is attempting to create aTaskand will call ditto's.upsertfunction. Otherwise, we will attempt to.updatean existing task with a known_id. - Finally if a delete button is clicked, we attempt to find the document and call
.remove
EditScreenViewModel.swift
import SwiftUIimport DittoSwift
class EditScreenViewModel: ObservableObject {
    @Published var canDelete: Bool = false    // 2.    @Published var body: String = ""    @Published var isCompleted: Bool = false
    // 1.    private let _id: String?    private let ditto: Ditto
    init(ditto: Ditto, task: Task?) {        self._id = task?._id        self.ditto = ditto
        canDelete = task != nil        body = task?.body ?? ""        isCompleted = task?.isCompleted ?? false    }
    // 3.    func save() {        if let _id = _id {            // the user is attempting to update            ditto.store["tasks"].findByID(_id).update({ mutableDoc in                mutableDoc?["isCompleted"].set(self.isCompleted)                mutableDoc?["body"].set(self.body)            })        } else {            // the user is attempting to upsert            try! ditto.store["tasks"].upsert([                "body": body,                "isCompleted": isCompleted,                "isDeleted": false            ])        }    }
// 4. func delete() { guard let _id = _id else { return } ditto.store["tasks"].findByID(_id).update { doc in doc?["isDeleted"].set(true) } }}4-3 Create the EditScreen:
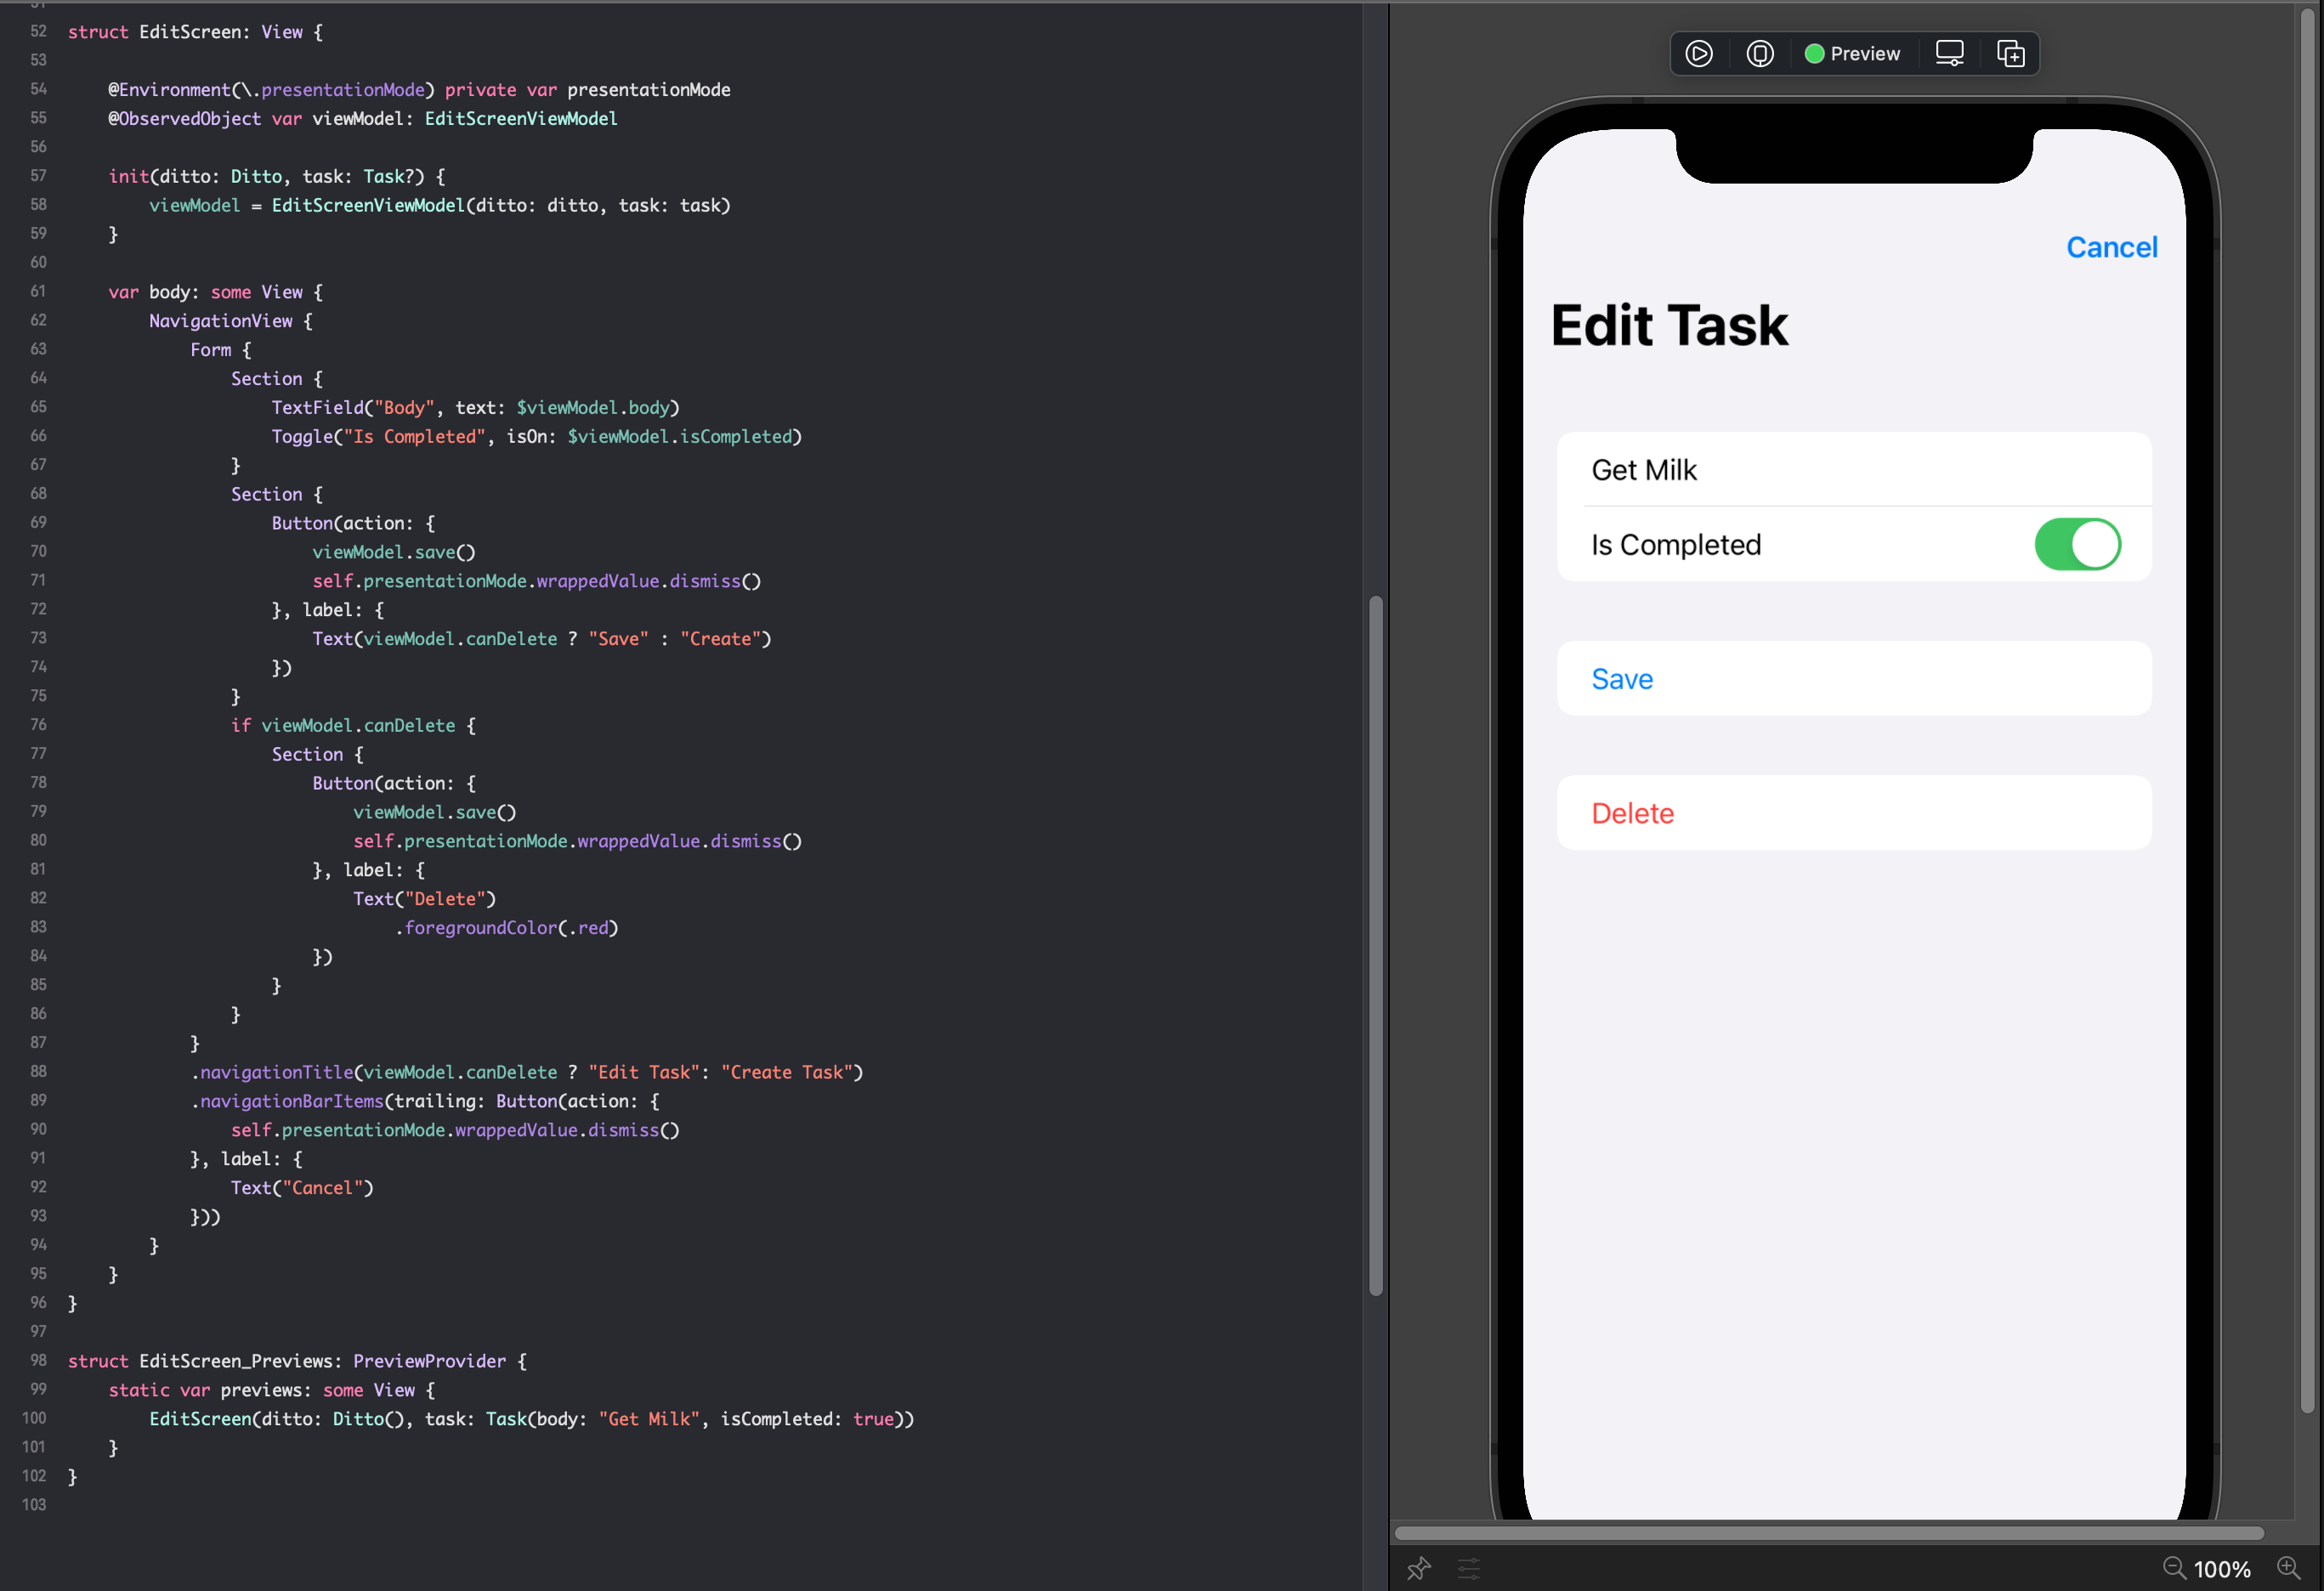
Like the TasksListScreen.swift in the previous section, we will create an EditScreen.swift.
This screen will use SwiftUI's Form and Section wrapper.
- An
TextFieldwhich we use to edit theTask.body - A
Switchwhich is used to edit theTask.isCompleted - A
Buttonfor saving a task. - A
Buttonfor deleting a task

- In the
EditScreenwe need to add a@Environment(\.presentationMode) private var presentationMode. In SwiftUI views house some environment variables. Because theTasksListScreenpresened theEditScreenas a.sheet, we need a way to dismiss the current screen if the user taps any of the buttons. To learn more aboutEnvironment, read Apple's official documentation.. To dismiss the current screen we can callself.presentationMode.wrappedValue.dismiss() - Like before, store the
EditScreenViewModelas anObservedObject. Pass thetask: Task?and thedittoinstance to properly initialize theEditScreenViewModel. Now the ViewModel should know if the user is attempting a creation or update flow. - We now can bind the
TextFieldfor the$viewModel.bodyandToggleto the$viewModel.isCompleted. Notice the$, this allows SwiftUI fields to bi-directionally edit these@Publishedvalues and trigger efficient view reloading. - Bind the save button's
action:handler to theviewModel.save()function and dismiss the view. Whenever the user clicks the save button, they will save the current data and return back to theTasksListScreen - If the
viewModel.canDeleteistrue, we can show a deleteButton. Notice how we don't need the$since we are only reading the value once. Moreover, we do not need to tell SwiftUI to re-render oncanDeletesince it will never change during theEditScreen's life cycle. - Bind the delete button's
action:to theviewModel.delete()function and dismiss the view. - Finally we add a
EditScreen_Previewsso that you can easily watch the view's final rendering as you develop.
EditScreen.swift
struct EditScreen: View {
    // 1.    @Environment(\.presentationMode) private var presentationMode
    // 2.    @ObservedObject var viewModel: EditScreenViewModel
    init(ditto: Ditto, task: Task?) {        viewModel = EditScreenViewModel(ditto: ditto, task: task)    }
    var body: some View {        NavigationView {            Form {                Section {                    // 3.                    TextField("Body", text: $viewModel.body)                    Toggle("Is Completed", isOn: $viewModel.isCompleted)                }                Section {                    Button(action: {                        // 4.                        viewModel.save()                        self.presentationMode.wrappedValue.dismiss()                    }, label: {                        Text(viewModel.canDelete ? "Save" : "Create")                    })                }                // 5.                if viewModel.canDelete {                    Section {                        Button(action: {                            // 6.                            viewModel.delete()                            self.presentationMode.wrappedValue.dismiss()                        }, label: {                            Text("Delete")                                .foregroundColor(.red)                        })                    }                }            }            .navigationTitle(viewModel.canDelete ? "Edit Task": "Create Task")            .navigationBarItems(trailing: Button(action: {                self.presentationMode.wrappedValue.dismiss()            }, label: {                Text("Cancel")            }))        }    }}
// 7.struct EditScreen_Previews: PreviewProvider { static var previews: some View { EditScreen(ditto: Ditto(), task: Task(body: "Get Milk", isCompleted: true)) }}4-4 Run the app!
Congratulations you are now complete with the Ditto SwiftUI task app!